Change who a ticket belongs to
Move a ticket to the right customer when it landed on the wrong profile, and choose the customer when you start a ticket yourself.
On this page
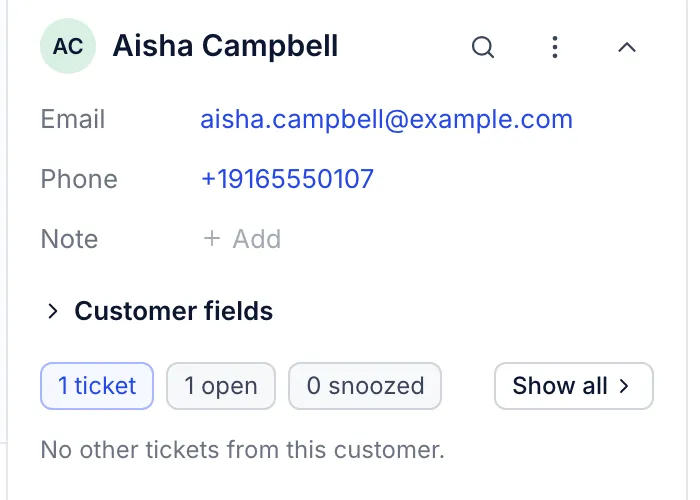
Each ticket has one customer: the person the conversation is with. Their profile fills the ticket's right-hand panel, with their contact details, note, other tickets and store orders, and your replies go to their main email address. The helpdesk picks the customer for you from the sender's email address (see How tickets find their customer), so you rarely need to change it.
Change it when a ticket is filed under the wrong person: a partner wrote on a customer's behalf, a colleague forwarded a message from their own address, or a chat visitor gave no email address and you have now worked out who they are.
Change the customer#
Open the ticket.
In the right-hand panel, select the magnifier beside the customer's name (Change customer).
Type at least two letters of the right person's name or email address. A phone number or external ID also works.
Select them in the list.
The panel switches to the new customer straight away and the helpdesk confirms with "Customer changed to" and their name. There is no confirmation step, so if you picked the wrong person, repeat the steps and pick the right one.
The list only finds existing profiles. For someone the helpdesk has never seen, create them first under Customers with Create customer (see Customer profiles), then come back and pick them. Searching customers by order number is not available: find the order's email address in the store section or in Shopify, and search by that.
Who can change it: every role except observer.
What changes#
The ticket moves to the new customer's history and their ticket counts, and leaves the old customer's.
The panel shows the new customer's details, other tickets and store orders.
Searching for the new customer's name or email finds the ticket.
Replies go to the new customer. The reply box fills its To line when the ticket opens, so check that To shows the new address before you send, and reload the ticket if it does not.
On a chat ticket, the conversation stays in one piece and the visitor still sees your replies in the chat window. If they have left the site, replies also go by email to the new customer's main address, when they have one.
What stays the same: the messages, including who sent each one, and the old customer's profile, which is not merged, changed or deleted. If both profiles are the same person, merge the customers instead, which moves every ticket at once.
Choose the customer for a new ticket#
When you start a ticket yourself, the Customer row on the new ticket form picks who it is for:
Type a name or email address and pick an existing customer.
Type a full email address for someone new and choose New customer: followed by the address.
The × on the chosen customer clears it so you can choose another.
Starting from a customer's page with Create ticket, or from New ticket for this customer in the customer panel's ⋮ menu, fills the customer in for you. See Start a new ticket.
Related articles
- Merge customersJoin two profiles of the same person into one, choose which name, note and emails to keep, and know what to do if you merged the wrong pair.
- How tickets find their customerHow the helpdesk picks each ticket's customer from an email address, when it makes a new profile, and how the store section finds the same person in Shopify.
- Start a new ticketWrite to a customer first, log a phone call or open a ticket for your team only, and pick up a ticket you started but did not send.
- Customer profilesFind, create, edit and delete customers, keep a private note on each one, and read a customer's page with their tickets, details and orders.
Still stuck?
Write to the Growth Dept team and a person answers. Say which helpdesk you work in and what you were trying to do.